

We have prepared a detailed step-by-step guide so that you can quickly manage all the settings and elevate your photogrammetry missions
Start
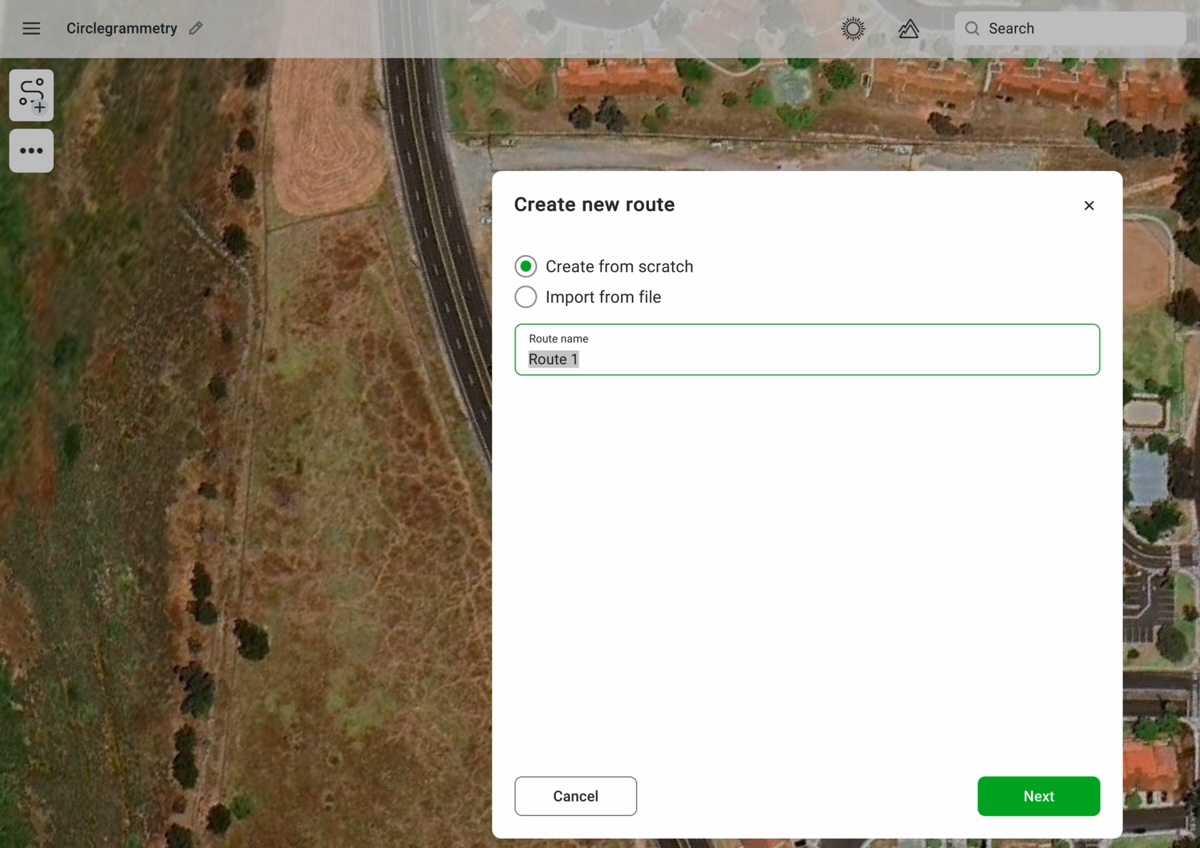
Let's start by creating a new route. Just click the “Create new route” button in the top corner of the screen, choose “Create from scratch” option, and then click the “Next” button:
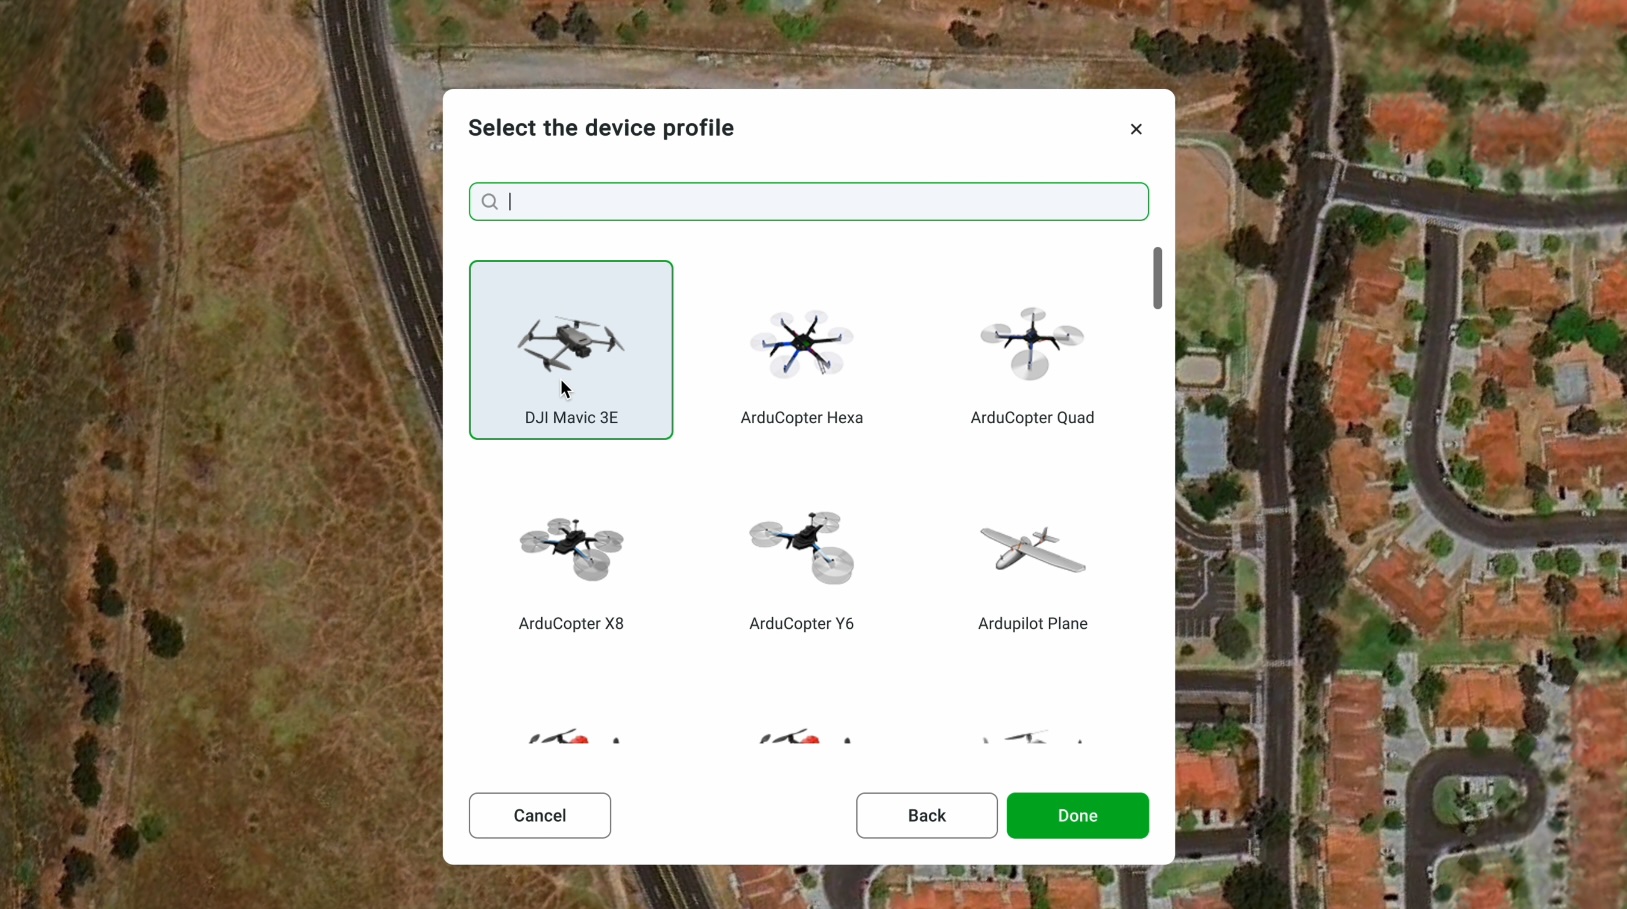
Select the relevant droneprofile. In our case, we'll be using the DJI Mavic 3E drone:
Route planning
Now, in the left toolbar, you should select the Circlegrammetry tool: it’s quite easy to find, the icon is marked with “C”:
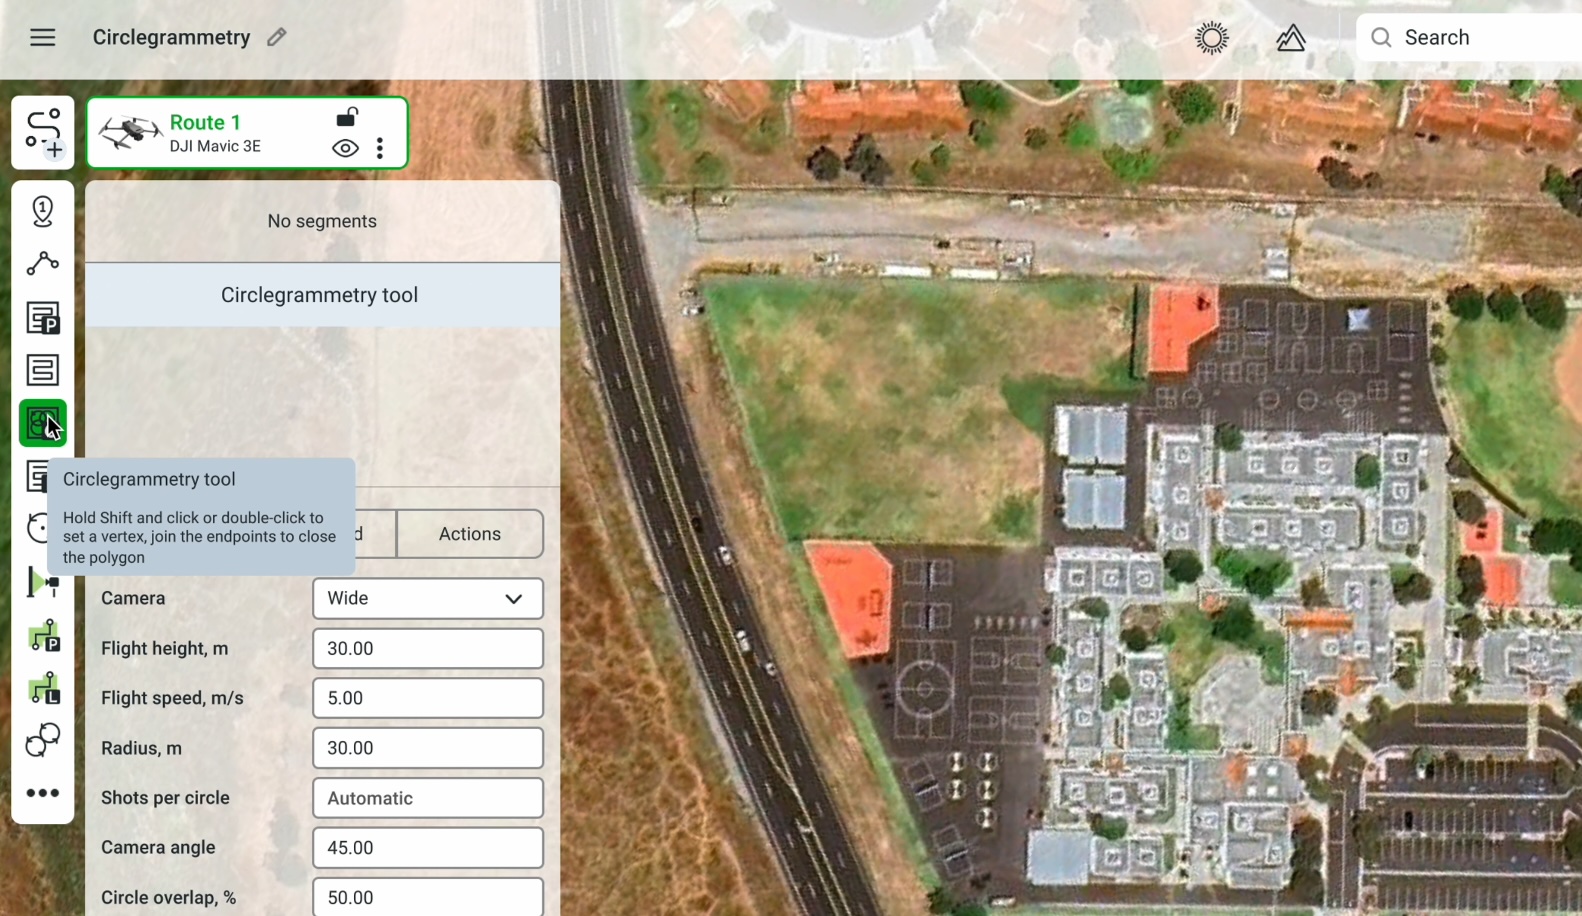
Now let's mark out the area which you want to survey: put down the points on the map around the necessary area:
.png)
Your mission will be automatically calculated with default settings:
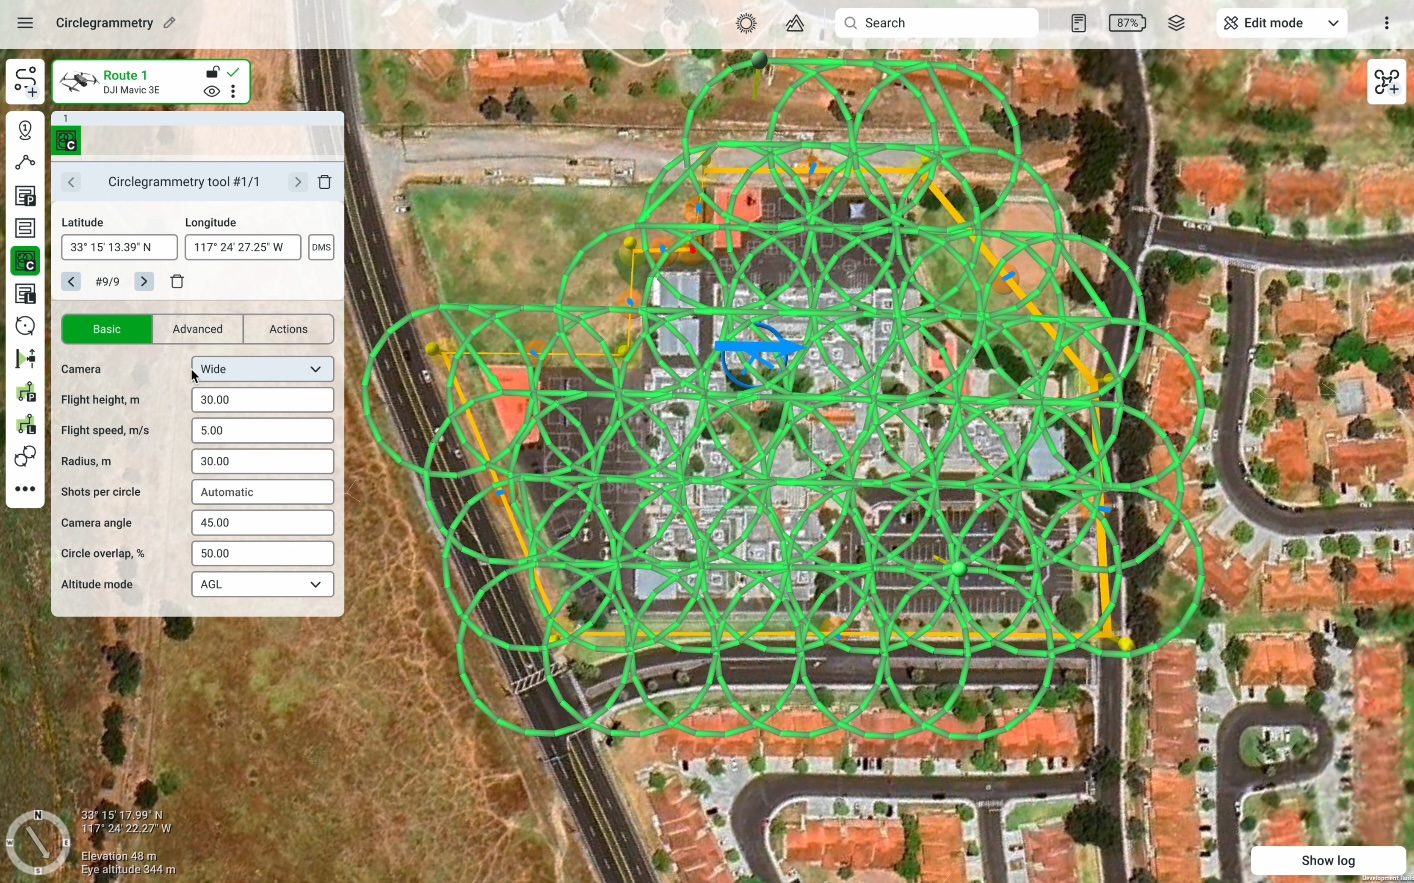
Let's go through all the basic parameters we have:
- Camera – in our case, we have selected the wide camera of the DJI Mavic 3E drone for this mission. Choose the right camera type depending on what drone you are using.
- Flight height – it’s typically determined by the result you want to get, the required image resolution, and the presence of obstacles within the area. However, we areable to operate at 30 meters altitude in our test case location.
- Flight speed – it’s set to 5 meters per second by default. But we recommend setting it just a bit faster, so the drone can cover the area more quickly. We set the flight speed to 10 m/s in our example.
- Radius – depending on the radius you are using, you can control whether you will collect more or less data over the whole area. Also, this radius parameter will affect the drone's overall flight time. Usually, using a higher circle radius will result in less dense data coverage. But it will also give you less flight time over the whole area. So, for smaller areas, we recommend using a smaller radius. Whereas for larger areas, it may be best to use a larger radius if you don't have very small objects on the ground that you want to scan.
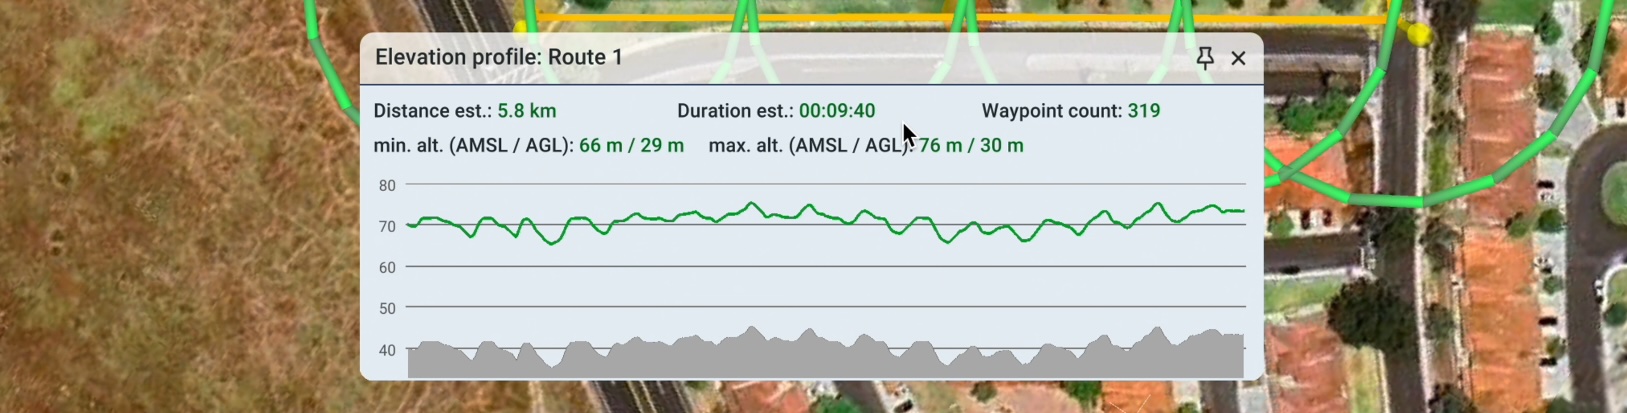
If you want to see the calculated mission time, click “Elevation profile” on the upper toolbar:

And the new window with your route details will appear:
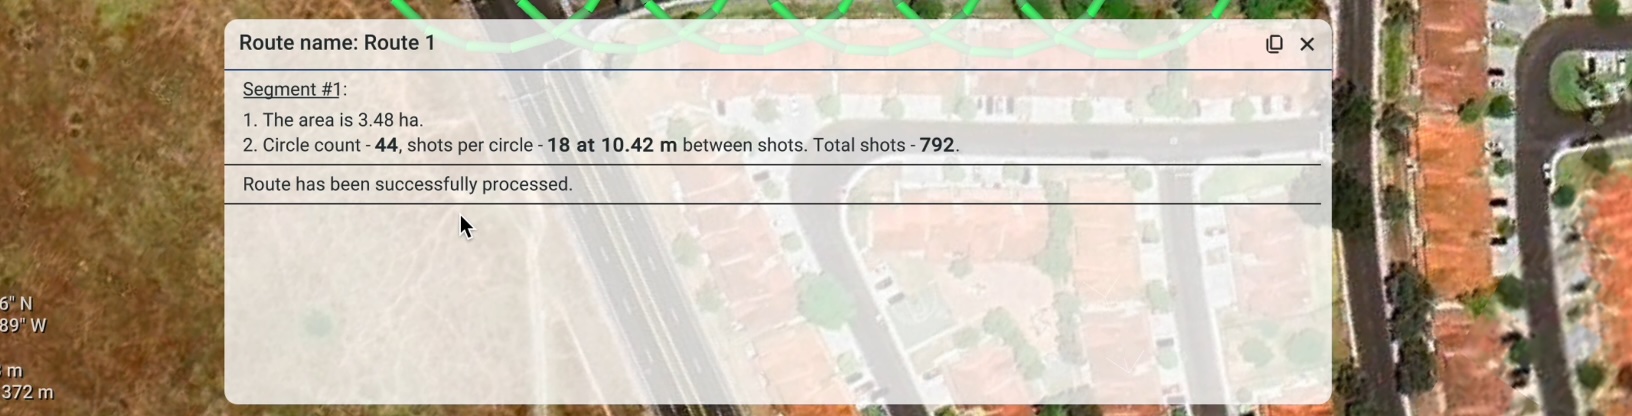
- Shots per circle – typically, this is calculated automatically based on the camera parameters and other factors like the flight speed. If you open up the route log, you can see how many circles are in this mission, how many shots the drone will take at each circle, and how many shots will be taken in total:
- Camera angle – this value will be set to 45° by default. However, you can also change it based on the results you want to get and the area you are scanning.
For an area with a lot of detail on the roof (as in our example), we can set this parameter to a slightly higher value, meaning the camera will be more tilted towards the ground. So we can change this camera angle to 70°.
- Circle overlap – this parameter controls the overlap between two consecutive circles. We recommend using the default value of 50% to ensure correct data overlap over the whole area. However, in some instances, you might want to increase or decrease this value.
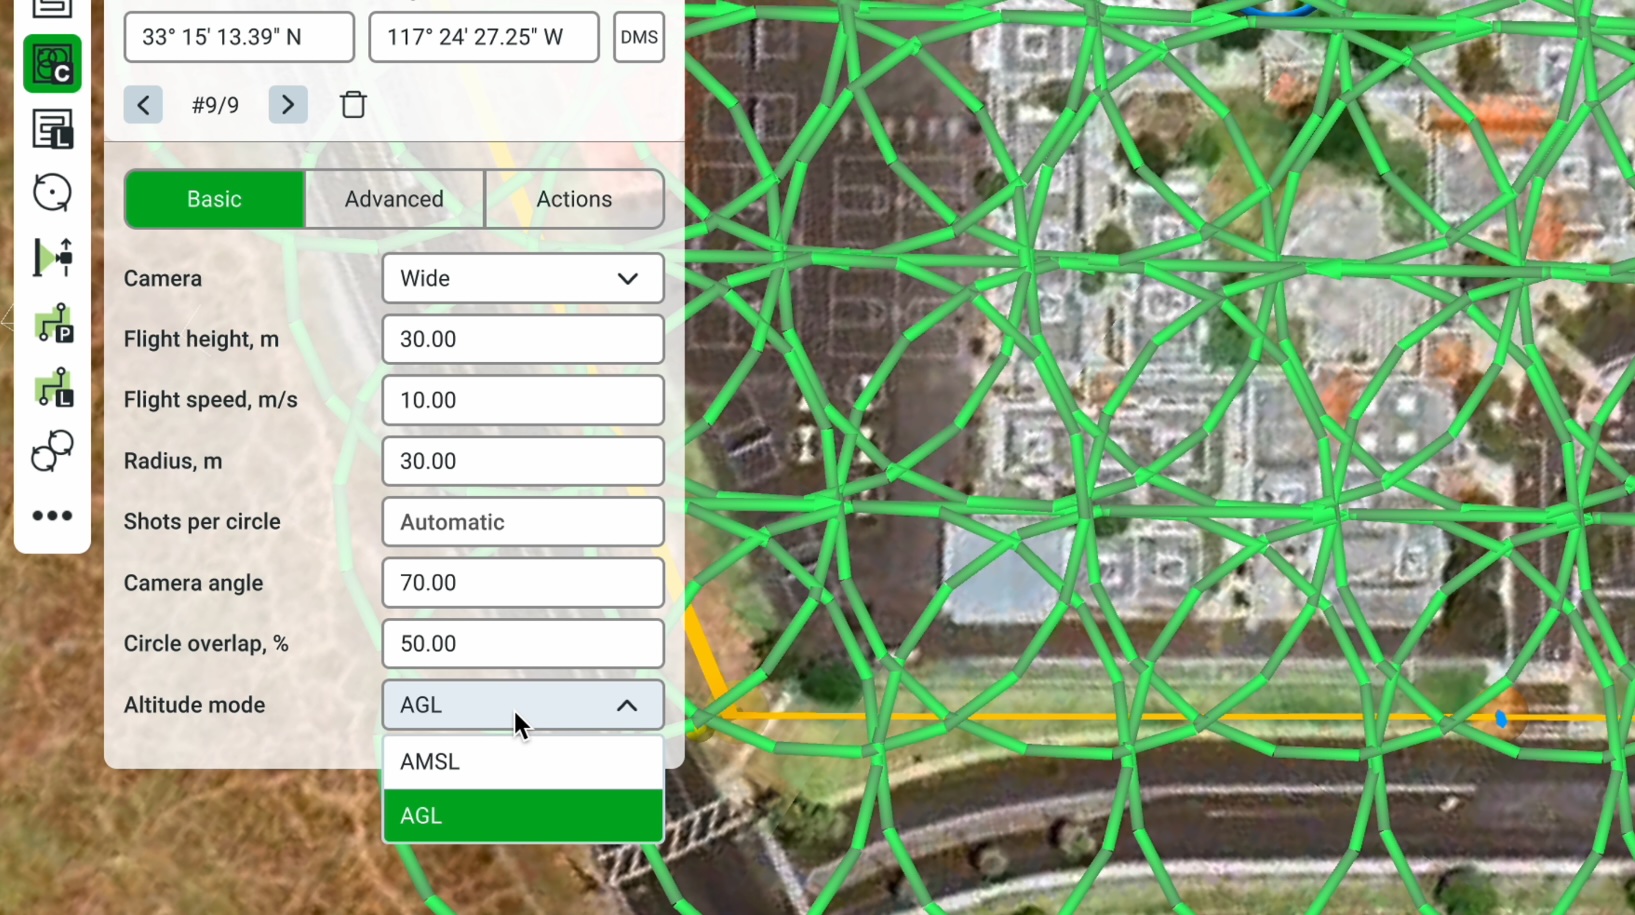
- Altitude mode – this will be set to AGL altitude by default which enables terrain following. Alternatively, if you want the mission to not follow the terrain, you can use AMSL altitude instead.
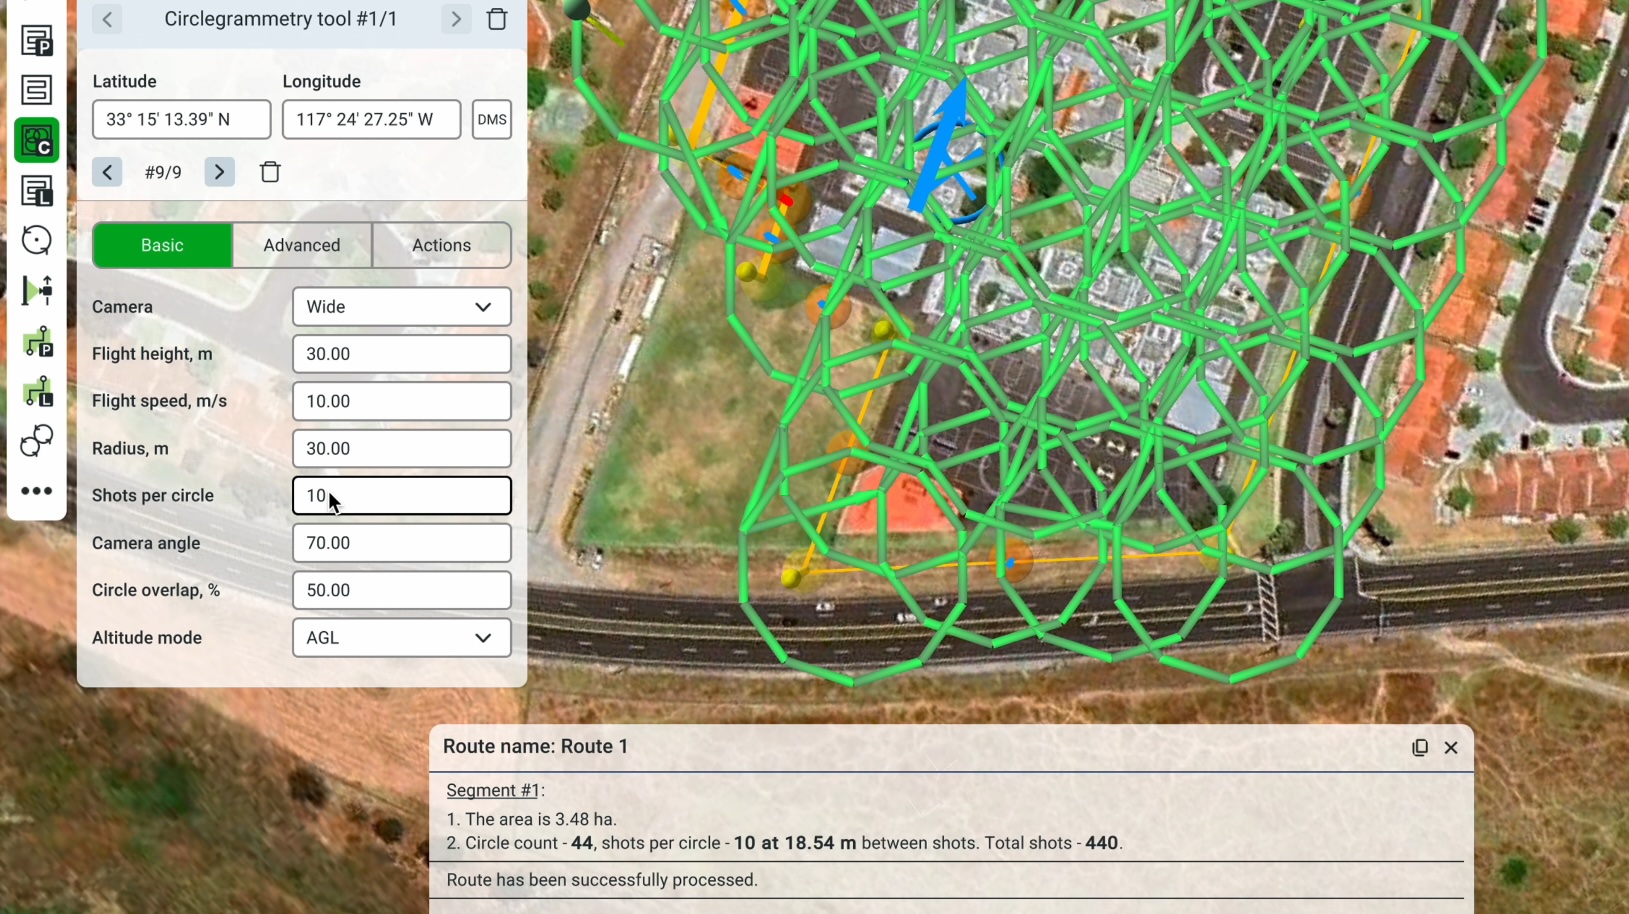
Now, let's open up the route log again. You can see the number of shots per circle is currently at 18. However, you can change this value just by changing the shots per circle parameter. For example, we can change this to 10:
If you want to change the shots per circle parameter back to default, simply delete this value and then you will see it's set back to automatic.
Flying
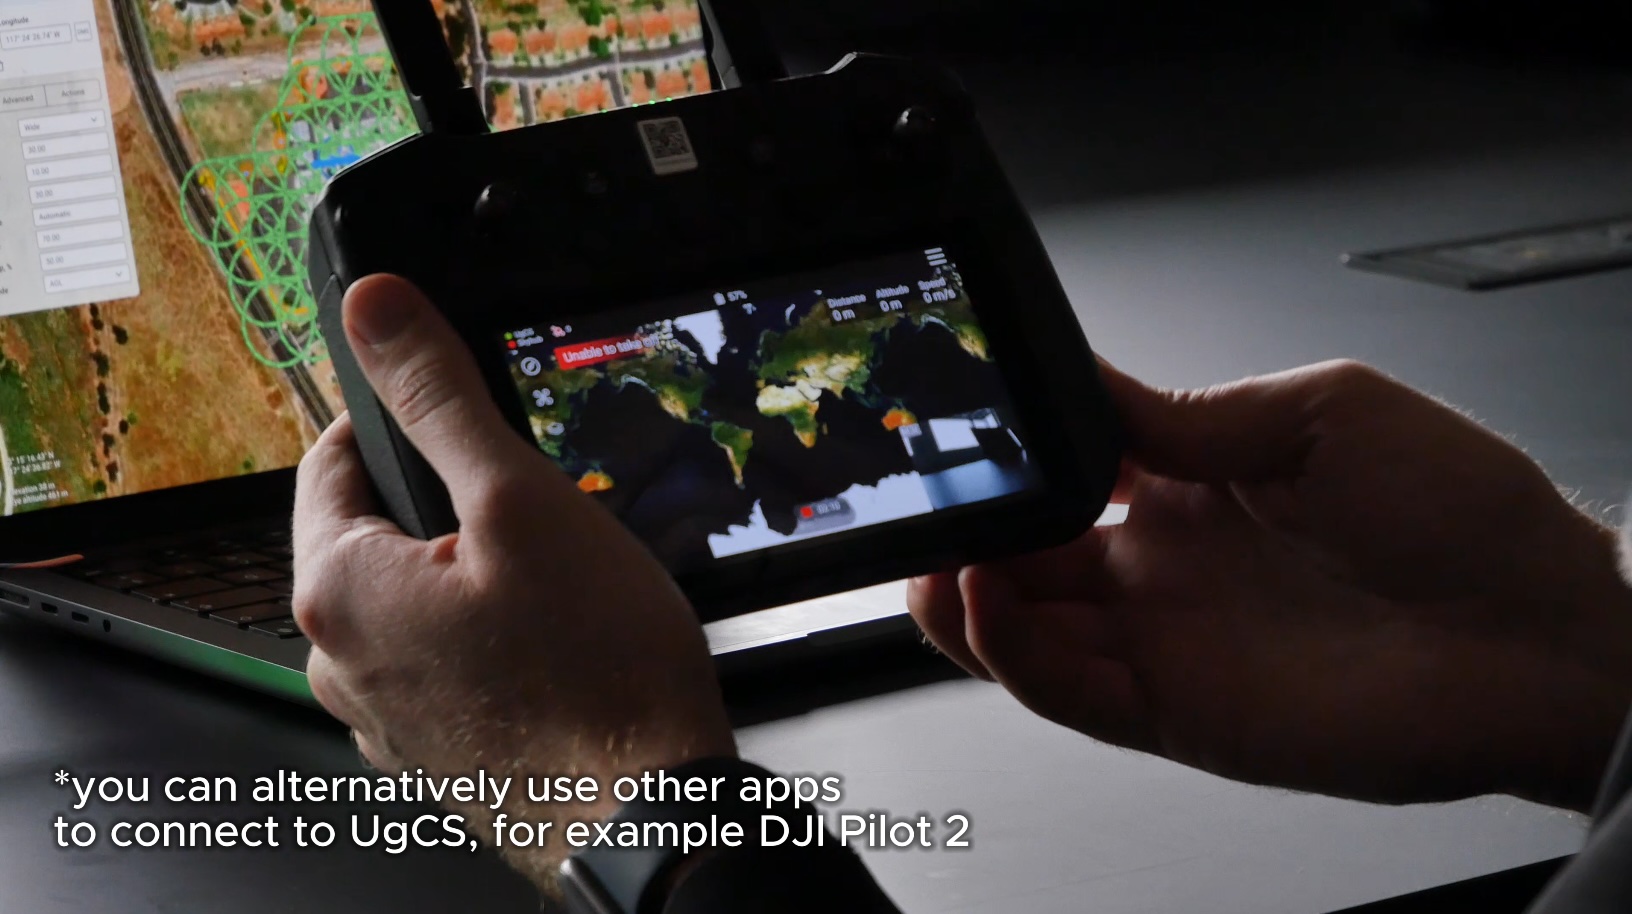
Once you finished the planning part, you got into flying settings. As we said before, we're using the DJI Mavic 3E drone for our test demonstration. Now, ensure the UgCS Companion app is installed and opened on the remote controller. Alternatively, direct connection from DJI Pilot 2 to UgCS can be used as well.
Once the drone connects, you can see the camera feed from the drone.
The next step is to make sure you have both the remote controller and your computer connected to the same WiFi network. You can press in the top left corner of the app to ensure you are connected. If everything is okay, you should see a green circle next to the UgCS icon.

Now you can start by uploading the route to the drone:
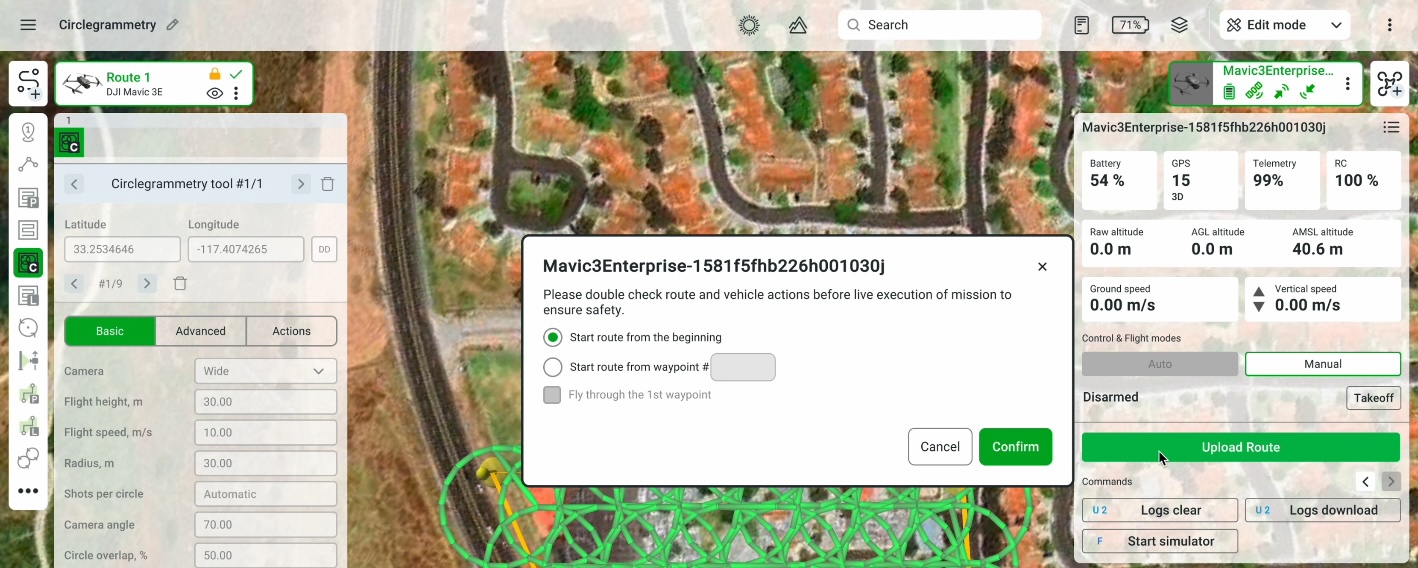
Once the route has been successfully uploaded, you will be able to see the route on the remote controller screen as well. Now you can start the route either from the computer or the remote controller:
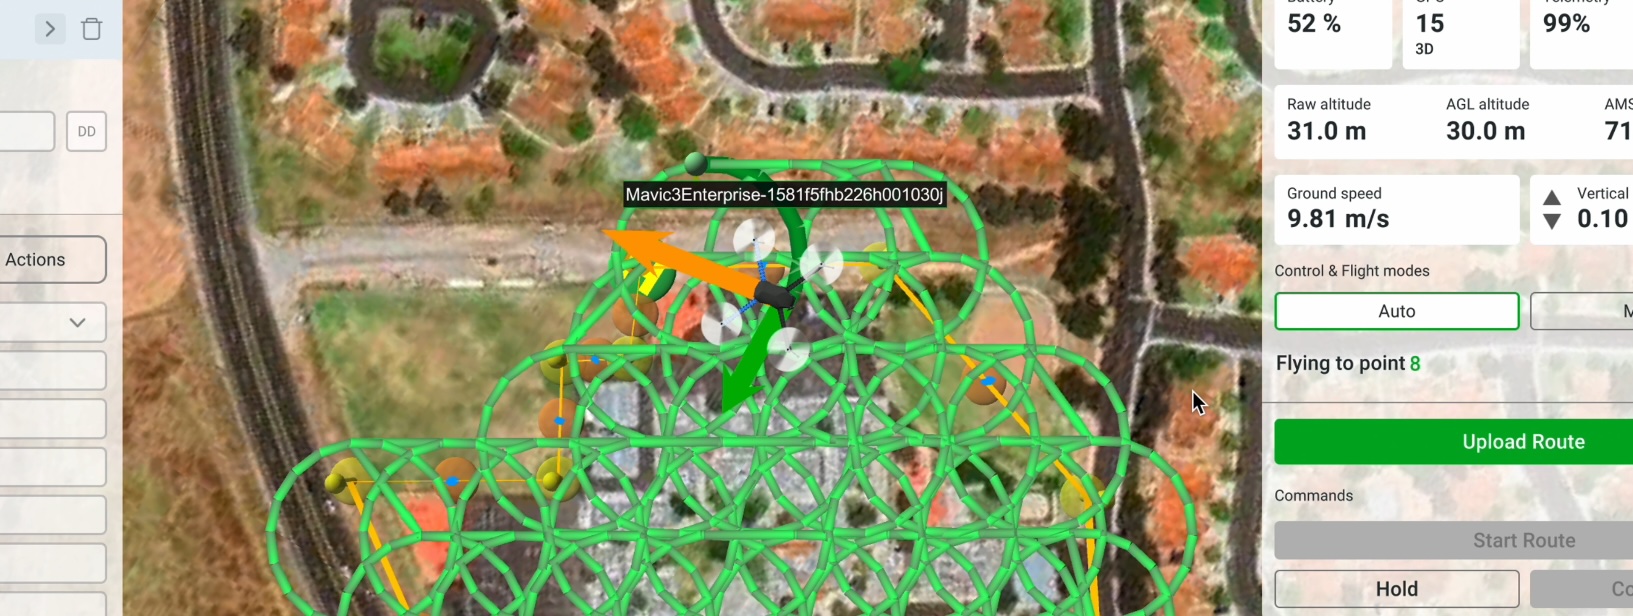
Congratulations, you have successfully launched your first UgCS Сirclegrammetry mission!
- Help us build first-class drone flight planning software that meets all your needs by providing your feedback on Circlegrammetry directly through the in-app support window or via the UgCS User Group on Facebook.
- And for all those professional drone pilots who are not UgCS users yet but want to experience Circlegrammetry benefits - Download to Try UgCS now to elevate your photogrammetry missions!